
Is your hardwood flooring actually ready to install?
Skip the full article for now. Answer a few quick questions and get a practical next step in under a minute.
Acclimation is not really about “48 hours” or “three days.” It is about stable conditions, stable readings, and an acceptable flooring-to-subfloor moisture difference.
- Check each condition above.
- Use moisture readings instead of the calendar alone.
- Compare flooring readings with the subfloor before installation.
You’ve probably seen every answer to this question, from “48 hours” to “two weeks.” There isn’t a single number of days that applies to everyone. The ideal acclimation period is when the wood reaches a moisture balance with the home and subfloor where it will reside. That’s been proven by steady readings, not the clock.
Hardwood flooring is acclimated when (1) the home is in stable ‘normal living’ conditions, (2) flooring moisture readings remain constant for consecutive days, and (3) the difference in moisture levels between the flooring and the subfloor is within acceptable tolerances. Many manufacturers also list a minimum acclimation window, like 48 hours or 3+ days. However, measurements are still the best way to confirm the flooring is ready to install.
Acclimation explained in plain English
Acclimation, which is also called “conditioning,” is the process of adjusting wood flooring to the temperature and humidity of the room where it will be installed. This way, the flooring will work normally after installation instead of moving around a lot once it’s in place. The National Wood Flooring Association’s advice on wood flooring stresses that acclimation is more than just waiting a certain number of days; it’s about making sure the flooring and the facility are compatible.
Why does flooring need to acclimate?
Wood is hygroscopic, which means that based on the surrounding air, it can absorb and release moisture. The moisture level inside the boards changes as a result of changes in indoor relative humidity (RH) and temperature, which causes expansion or shrinkage across the width and thickness of the plank. This is exactly what the USDA Forest Products Laboratory says: when wood isn’t in touch with liquid water, its moisture content is affected by relative humidity (RH) and temperature. The point of “equilibrium moisture content” (EMC) is when wood isn’t adding or taking away moisture.
The best environment for wood floors is one where the relative humidity stays between 30% and 50%.
This rule is often used as an example because it’s a useful “comfort zone” where many homes and wood flooring products act in a predictable way. (The label on your goods and the weather where you live still matter.)
So how long to acclimate hardwood flooring?
When making plans, it helps to know what most manufacturers say. For example, many installation instructions list a minimum acclimation time, which is usually between 48 hours and three days or more. Some engineered products may also list a few days, but this depends on the conditions in your area. However, even those manufacturers usually add an important point: acclimation is complete when moisture content and dimensions remain constant over consecutive days and when readings match the conditions on the job site when they are being used.
This is why professionals rely on measurements. One company’s directions for solid wood were very direct:
The right amount of acclimation is based on the moisture level readings at the time of installation, not on how long the floor is acclimated.
This means that your acclimation may not last long if your readings “match” fast. Acclimatation can take longer if your home is still drying out (fresh drywall, new concrete, a humid basement, or uneven HVAC), and rushing it is how movement problems get baked into the floor.
What “ready to install” looks like
When installers say “ready,” they usually mean that your readings meet two conditions: the wood is stable and the moisture content difference between the flooring and subfloor is okay. A typical way to sum up the NWFA’s tolerances for solid wood is that there should be no more than a 4% difference in solid strip flooring that is less than 3” wide and no more than a 2% difference in wide solid flooring that is 3” or wider. (The limits for your product may be different, especially for engineered constructions or specialty planks.)
Here is what installers usually check before calling the floor ready to install:
| What to check | What you’re aiming for |
|---|---|
| Home conditions (temperature + RH) | Stable “normal living” conditions (commonly referenced around 60–80°F and 30–50% RH, unless your product specifies otherwise). |
| HVAC stability before delivery/installation | Many industry resources recommend having the permanent system operating ahead of installation so the space is stable while wood adjusts. |
| Flooring moisture content trend | Readings that stop drifting and remain consistent across consecutive days (some manufacturer instructions describe stability across 3 days as an example). |
| Flooring vs. wood subfloor difference | Common NWFA solid-wood guidance: ≤4% difference for strip (<3”), ≤2% difference for wide plank (≥3”). |
| Concrete slab moisture status (if applicable) | Concrete must be moisture-tested and meet the flooring + adhesive system requirements; add a tested moisture-control system when needed. |
| Storage/airflow during acclimation | Air can reach the boards: cartons opened as directed, plastic removed or cut open, material elevated off slab, and space between stacks for circulation. |
How to acclimate hardwood flooring correctly
It is easier to get used to a new home if it is “install-ready” first. In its guidelines, the NWFA says that a controlled interior environment and a jobsite that is enclosed and dry are essential for successful acclimation. You’re not adjusting to real living conditions when you put down flooring in a room that’s still going through cold nights and hot days or drying from wet trades. You’re chasing a moving goal.
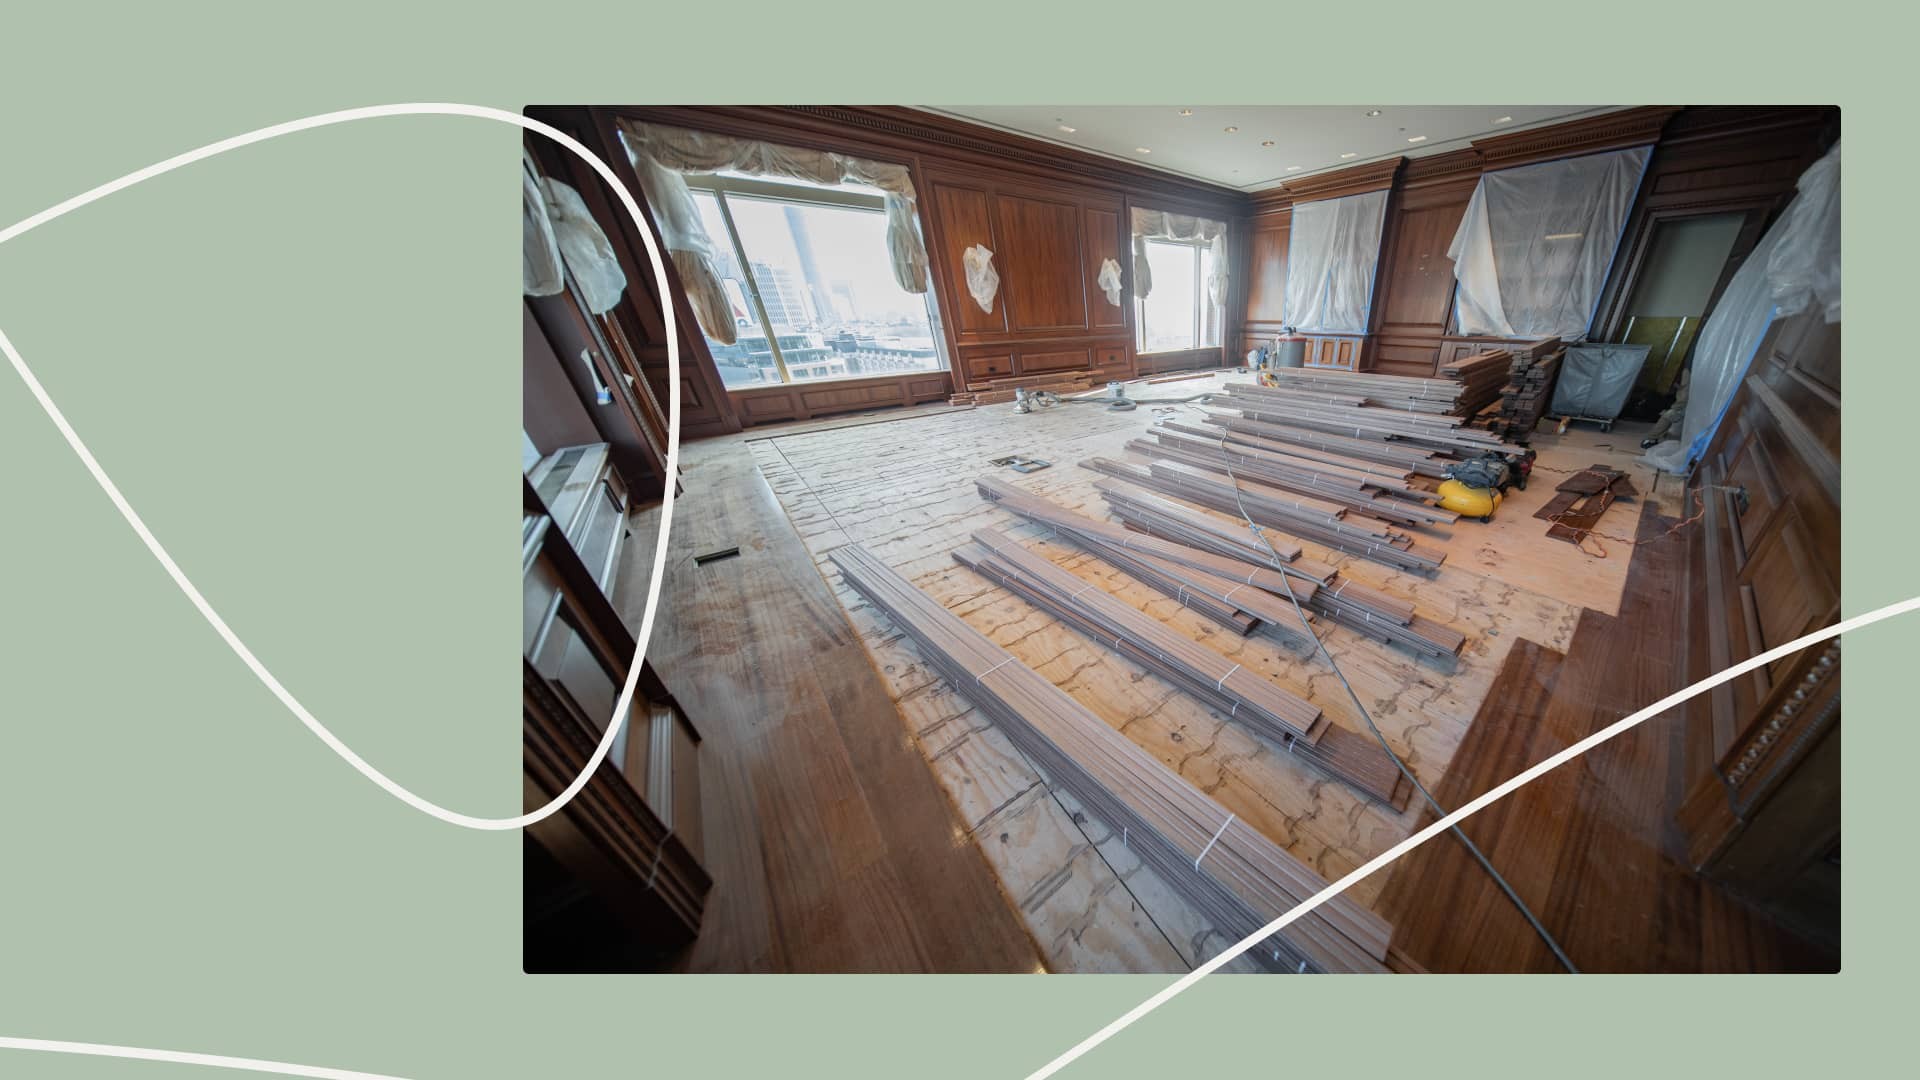
Here’s a useful method that fits with standard practice in the business and manufacturer instructions: Stage the flooring in the room where it will be put (not a garage or porch), keep it off of the concrete, and open the packaging as directed to let air flow around the item. A lot of directions also talk about cross-stacking with spacers (also called “stickers”) so that air can flow between the boards on all sides. Then, measure the moisture levels of several boards from different packs and compare them to the levels of the subfloor. When readings stabilize and the flooring / subfloor relationship is within the needed range, you are finished.
A lot of people lose time or fail at acclimation by: delivering wood before the HVAC is stable, storing it in a place that isn’t controlled, leaving boards wrapped in plastic, not testing the subfloor for moisture, or installing because “it’s been three days” even though readings are still changing.
Does engineered hardwood need to acclimate?
In most real-life installations, yes. But not as much as with solid wood, because engineered construction is designed to be more dimensionally stable. It’s important to remember that “engineered” doesn’t mean just one product. Cores, wear layers, and factory conditioning are all different. The NWFA’s installation instructions also include an important caveat: some manufacturers may not need acclimation for certain products; in this case, the product instructions are the final word.
When it comes to engineered hardwood, the process and minimum time listed by the manufacturer may differ from product to product. You still need to verify jobsite conditions. Inside, if the RH or slab/subfloor isn’t in the right range, engineered boards can still react. Also, for a clean installation, glue or floating systems need a stable environment. Check out our guide on Weles engineered vs. solid hardwood to learn more about when each type of floor makes the most sense for projects like slabs, basements, or radiant heat.
Can hardwood flooring acclimate in the box?
People often ask this because it makes things feel easier and “cleaner.” What does “in the box” mean? That’s the best answer. Because the boards can’t share moisture with the room as well if the flooring is sealed in plastic or otherwise blocked from airflow, acclimation takes a lot longer. One big brand’s instructions make it clear: wood can’t get used to being packed in sealed containers; at the very least, the cartons should be opened and the plastic should be taken off to allow airflow and moisture exchange.
On the other hand, some maker manuals say that cartons can be used for acclimating as long as the packaging is opened or cut open and the plastic wrap is opened or taken off. The cartons should also be kept off the ground and stacked to allow air to flow. Always do what the manual for your product says, because pre-conditioning and packing are different for each brand and type.
What happens if I don’t acclimate hardwood flooring?
The movement only stops after installation, when the boards are held in place by fasteners, glue, and adjacent planks, when wood flooring is installed before it finds moisture balance with its environment. Whether the wood gets or loses moisture can cause cupping or crowning, gaps that can be seen, checking or splits, squeaks, or even buckling in the worst cases. NWFA technical papers list common failure modes caused by moisture and link them to an imbalance of moisture through the board thickness or between the floor and the substrate.
Skipping acclimation can also create warranty risk. If you can’t prove that the flooring was put within their environmental/moisture limits, you may be responsible for the result. Many manufacturers view jobsite conditions, moisture testing, and acclimation steps as necessary installation standards.
FAQ
Sometimes 24 hours is enough time for boards to reach room temperature, but not always. This is especially true if the home’s RH is different from the warehouse or delivery conditions. Stabilization stops moving after installation.
It is best to acclimate the flooring in the same conditioned space where it will be installed. Manufacturers’ instructions often say that garages, porches, and other unregulated areas are not good places to store things because the conditions are too different from “in-use” conditions.
The concrete needs to be checked for moisture and be able to hold up against your wood flooring and adhesive/underlayment system. The NWFA puts out free information about concrete subfloors called “Wood Floor Facts.” You should read these along with your product instructions before you schedule delivery.
First, look at the installation instructions that came with your flooring. Then, look at the NWFA’s technical tools and publications to see what the best practices are. The USDA Forest Products Laboratory’s Wood Handbook chapters provide a solid foundation for understanding EMC and how RH and temperature affect wood moisture content.
Questions or Feedback?
If you want us to review your floor case or clarify anything in this guide, send us a note.
Email: weles.usa@gmail.com