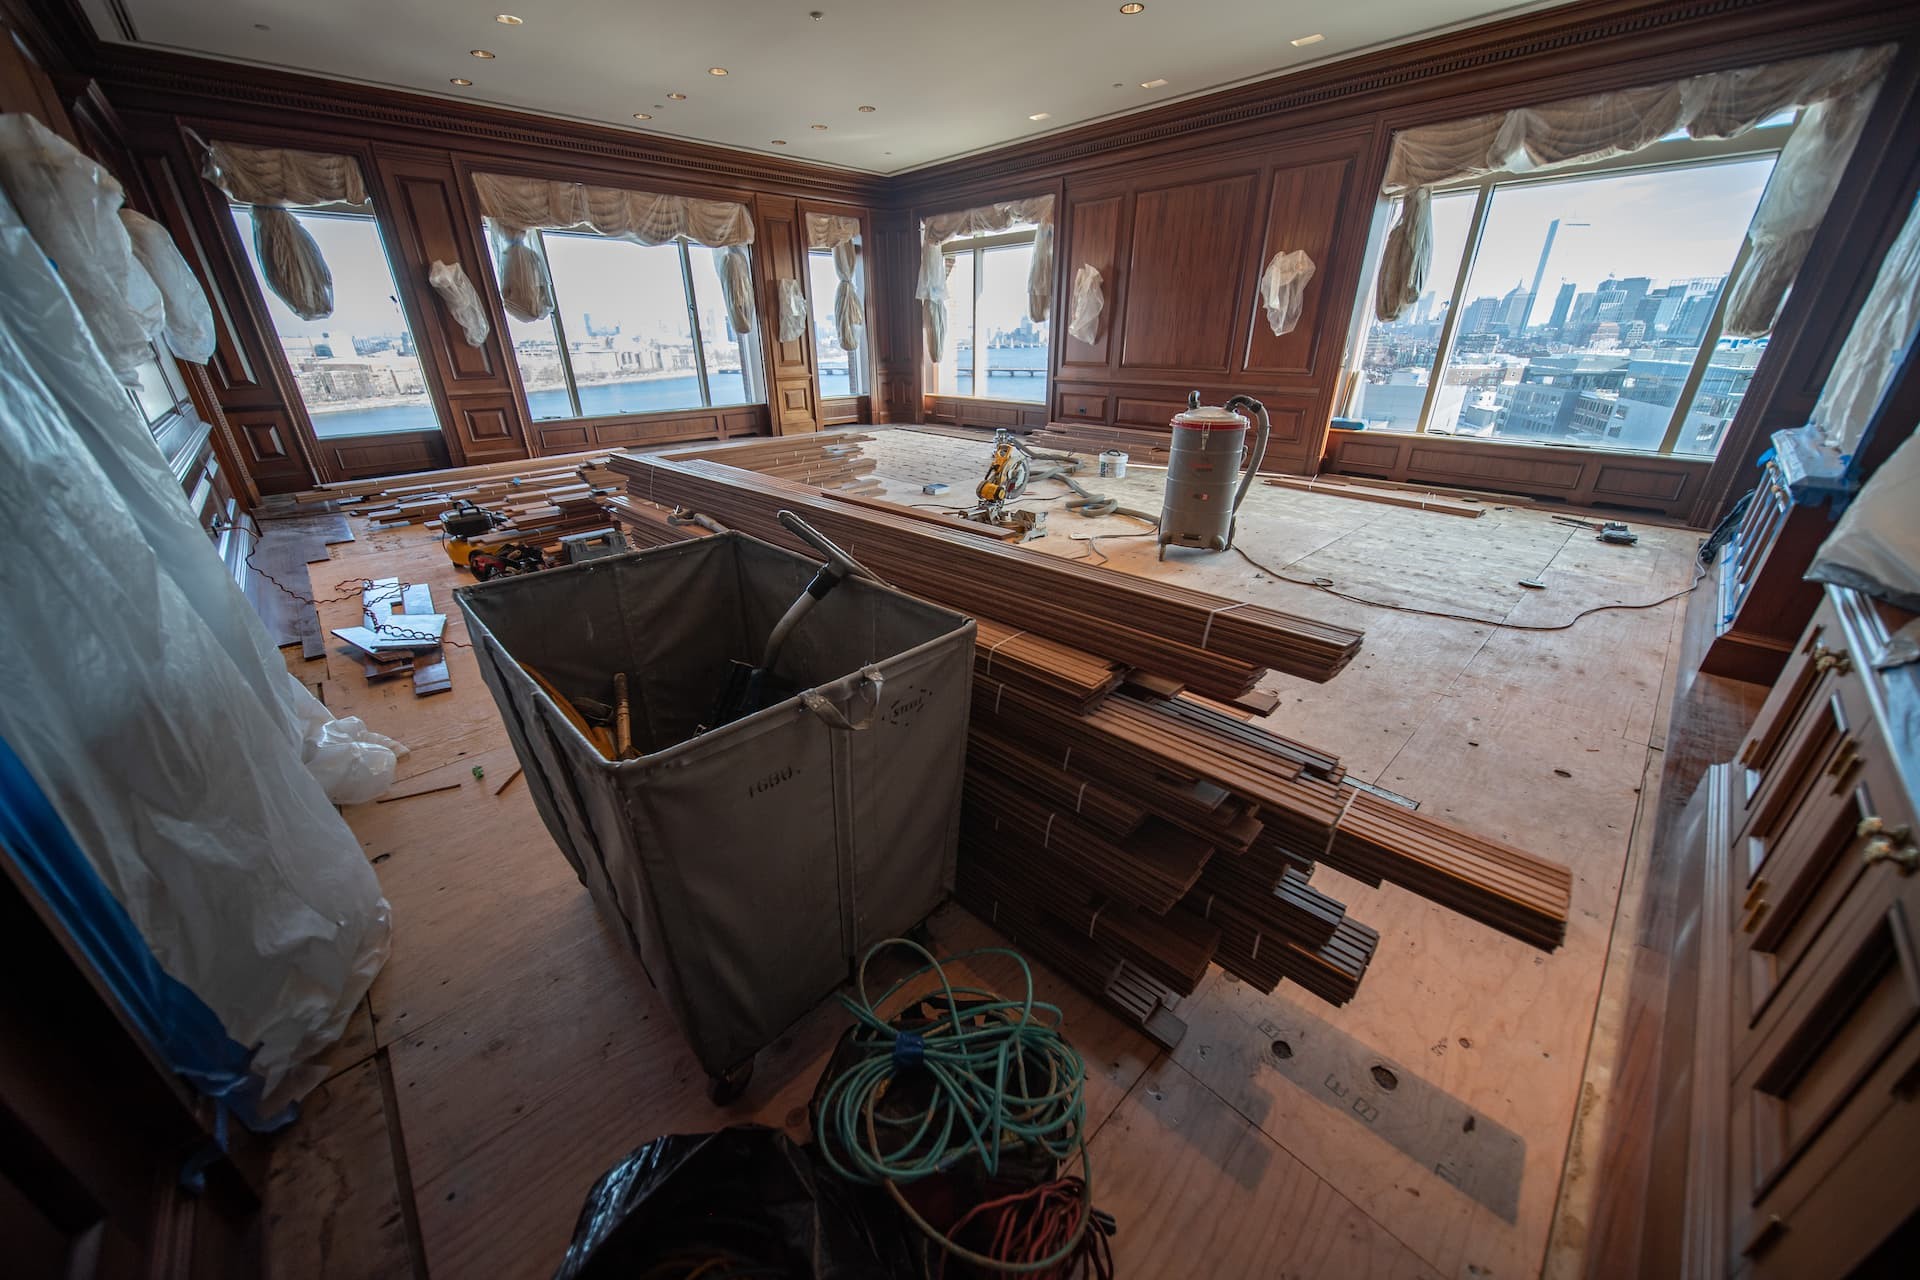

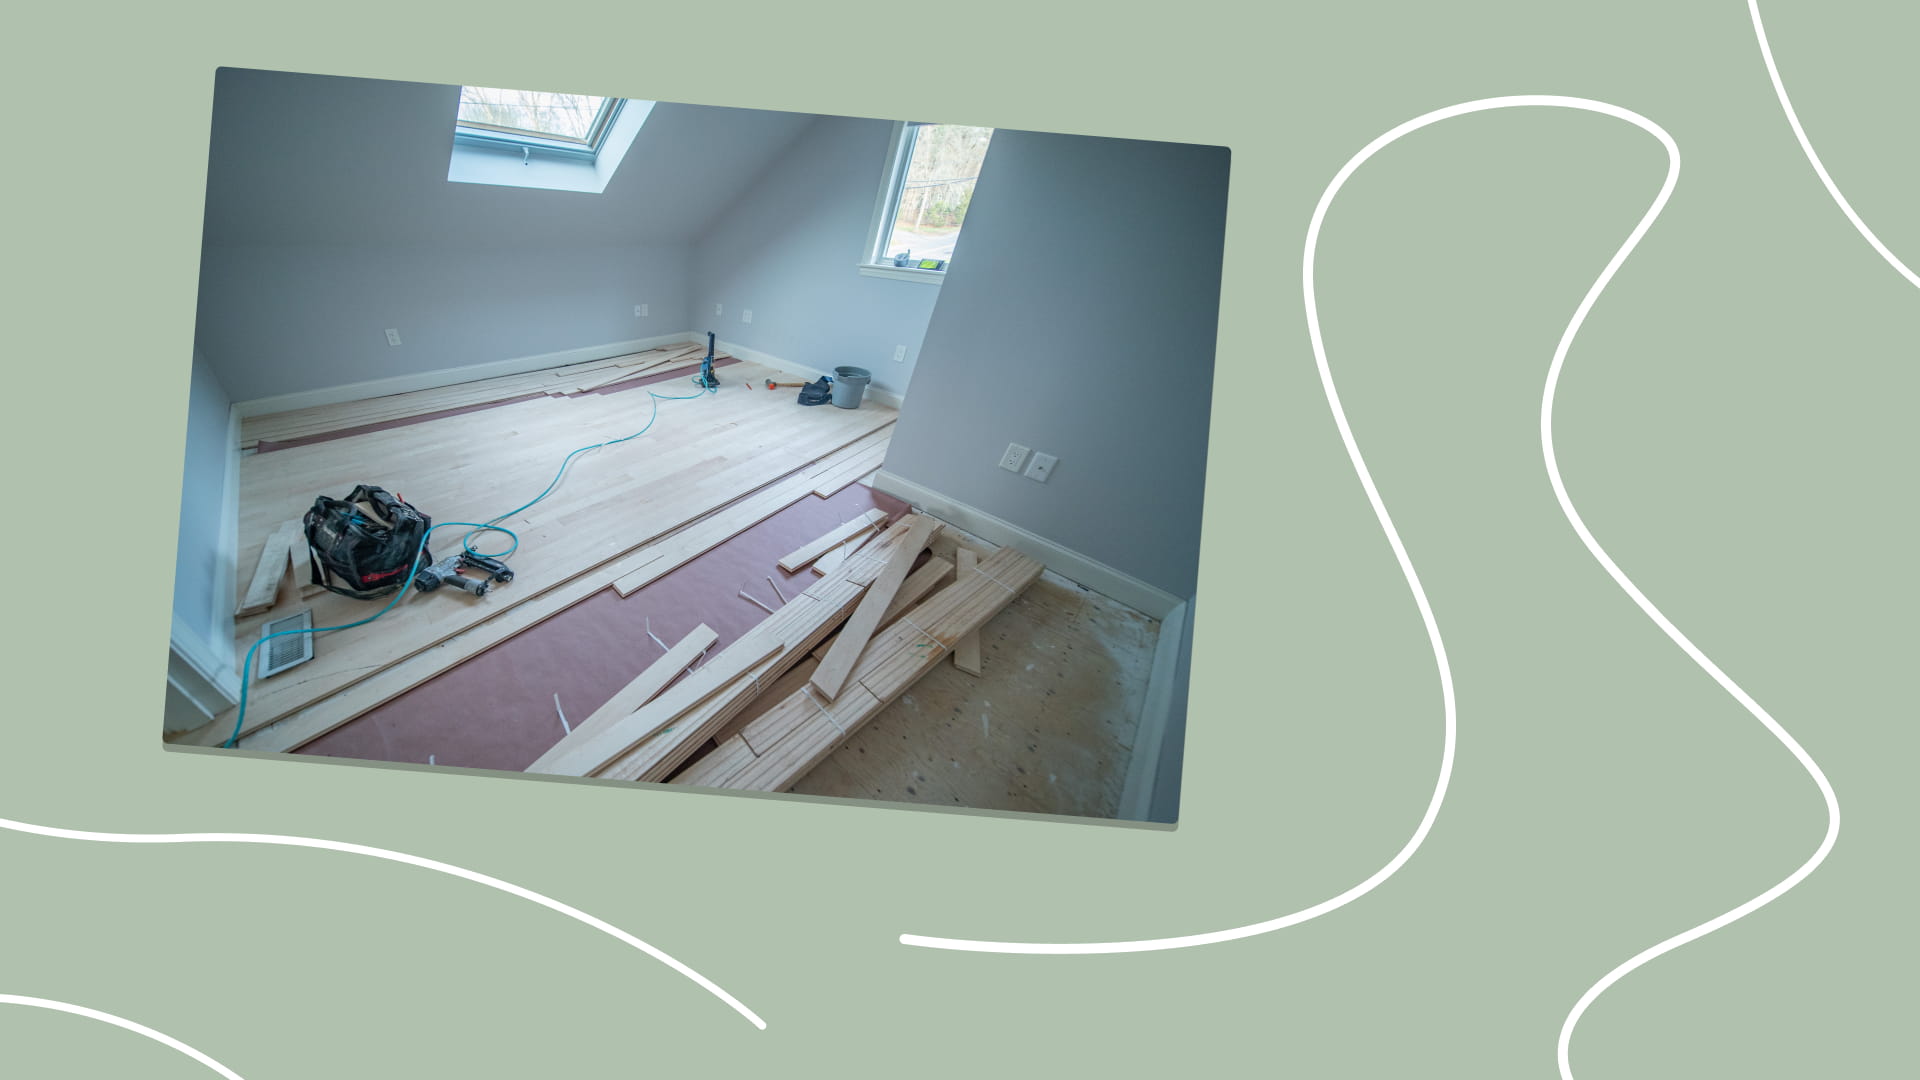
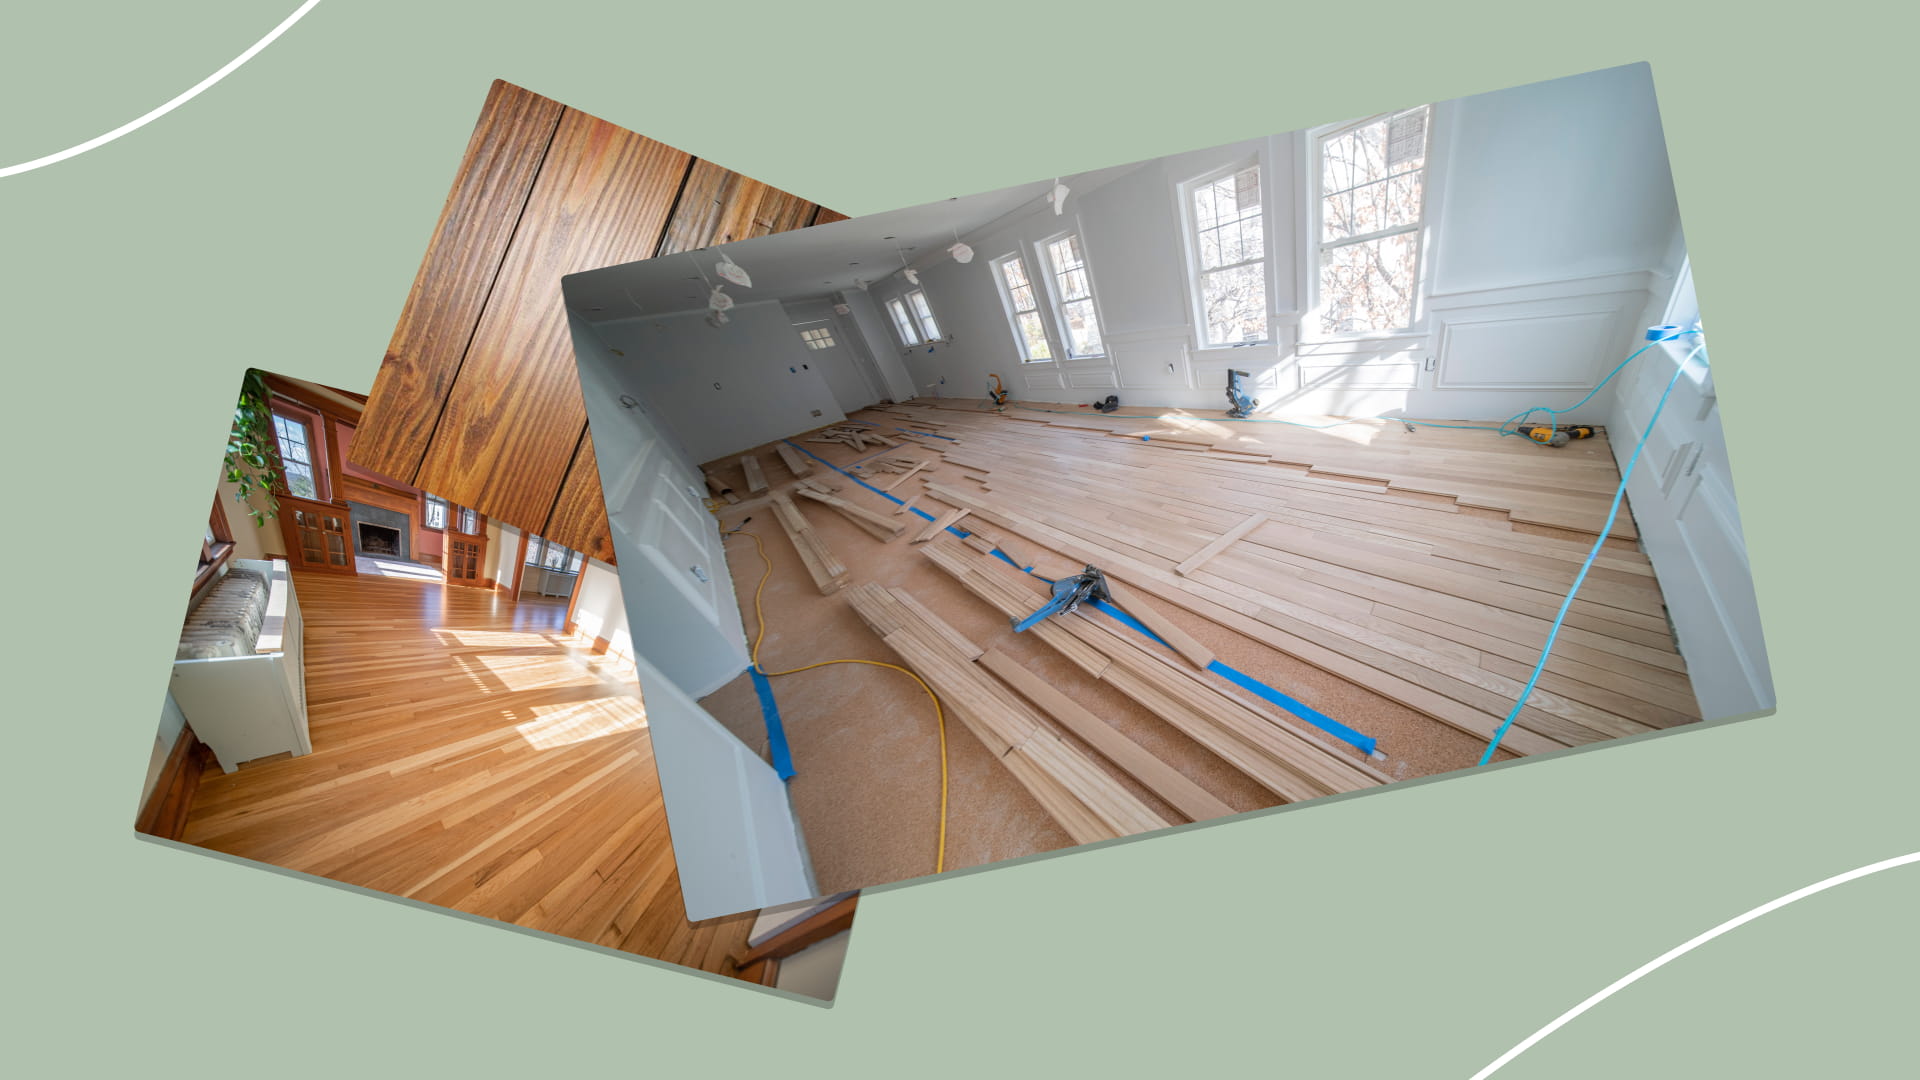
You're walking through your home, and then you hear it—that annoying creak underfoot. Squeaky floors are very common in every household but are usually much more pronounced in older houses. This is because of temperature and humidity changes, some structural problems in the floor, or perhaps even an installation error.
Why Hardwood Floors Creak
- Seasonal Changes: Wood on your floor usually expands and contracts with the change in temperature as well as humidity. The boards can hence force slight rubbing against each other or the subfloor, leading to creaks.
- Structural Issues: Your joists—how your floor is supported—eventually work loose or warp, creating gaps between the subfloor and floor boards, causing movement and noise.
- Improper installation: If too few nails or some adhesive glue was used when the floor was installed, then it would exaggerate set movement of the boards hence created maddening creaks.
How to Diagnose the Source of the Creaking
The first step to fixing that creaky old floor is finding out just where that noise is emanating from and what is causing it. Here is a step-by-step guide.
Required Tools
- Flashlight: For checking dark areas and even the gaps between the floorboards.
- Ladder: For inspecting the under floors if you have a basement.
- Hygrometer: To measure the humidity level of materials, since the dimensions of wood and other materials change with shrinkage and the corresponding expansion.
- Tape Measure: For checking gaps from bay to bay.
- Helper: How tricky is it to find the creak if you had somebody come walk on the floor and you're underneath looking at it?
Visual Examination
You can start from inspecting the floor, looking visually for openings between the piles of the boards, or between the floor and the wall. Ensure no board is loose, allowing no more than a springiness under one's foot when walking on them.
The flashlight can be used to look in them. Note any place or places where the boards seemed to bind when stepped upon or against the subfloor. For those of you with either a basement or crawl space, go down the ladder and look at the bottom side of the floor for any loose joists or subfloor.
🌡️ Check humidity levels: "Low humidity can make wood floor shrink, resulting in gapping and squeaks. Keep the humidity level within your home—year-round—between 35% and 55% to limit movement in your hardwood floors."
Different Areas Testing
Just walk the room, one board at a time, stepping down on different floors, making them resound; listen to their locations because if the quiet stays in that one location, the problem may only be one or some loose boards or fasteners here, but if some area develops, it's likely a problem in the sub-floor.
Have your buddy do a little heel-to-toe across the floor as you watch from below. That can make it a lot easier to see exactly from where the movement is coming—and then locate what's causing the problem up there in the subfloor, in individual boards, or to a structural component, like a joist.
How to Repair Noisy Hardwood Floors
Now that you have identified what caused the creak, you can directly proceed to curing the problem. Here are some practical cures based on whatever causes the noise to be:
Season and Humidity Solutions
Use of Hum
These gaps and squeaks in wood flooring are caused by the above-mentioned tendency of the product to shrink under dry conditions. Preserving moisture in home climate within the range of **35% to 55%** in the moistening class can prevent it from happening.
Use a humidifier during very dry winter months. Put the humidifier in rooms with hardwood flooring to keep the air moist and ensure the wood stays stabilized. Use a hygrometer to check the air's humidity levels every so often to ensure they do not surpass recommended limits.
Cracks and Gap Sealing
Close the spaces between floorboards using wood glue.
If you like, you can do this by yourself, just using putty or caulk. It is better to use an elastic sealant for larger joints.
Go back over the caulk with the standard putty knife and return with a spare to adhesive the floorboards down.
📚 Learn more about how to fix cracks: Read our guide to fixing cracks.
Structural Solutions
Shimming
A normal gasket can help if the squeak is due to a gap:
- Locate the gap with the help of a shim placed between the base and the beam.
- Spread a thin layer of carpenter's glue along both surfaces of the shim.
- Install the shim with light hammer blows and pressure. Do not apply too much pressure!
The shim should fit into this space without causing further compression of the wood.
Screwing from Below
If the squeaks are due to loose boards, you can attempt to screw up from underneath them.
- Drill a few pilot holes through the sub-floor and into the loose floorboard.
- The floorboard should be screwed down to the subfloor with short screws so that they go through the thickness of the floorboard but not enough to stick up through it.
- Tighten them until they are well fixed; the board should not really be able to move, which is what gives this creaking sensation.
Bracing the Subfloor
If you are finding that the sub-floor itself is moving, then bracing will provide a small amount of rigidity towards:
- Measure the length across the area you wish to retrofit.
- Install the fitting with a little wooden or steel bridging.
- Secure the bracing material down tightly into the joists or subfloor, screwing it well to close a give.
At the most, likely further support will prevent large motions—hence, the creaking— or it will snap the resonance transmission path.
Top-Down Repairs
Nailing Techniques
It is able to this by driving the nails down when the underside would not be reachable, and the boards not tight.
- Drill small pilot holes in a separated board approximately 45 degrees from the edge—no less than 1/2 inch from the edge
- Nail finish nails through the holes into the board, driving them through into the subloor.
- Nail heads should be driven below surface level. Fill all holes and gouges with compatible wood filler of your floor's color.
This process secures the boards without any visible damage to the floor.
Lubrication
Some even make noises of squeaking or creaking out of excess friction that can be greased for:
- If practical, dust board hinges with powdered lubricant, graphite, or spray with a silicone-based one.
- Rub the lubricant into the joints the same way as your feet are on the boards, or take a piece of soft cloth and spread the lubricant around.
- Wipe away the rest of the wax not to allow it to build up.
It's the fastest among all small creaks solutions available today, but it's only a quick fix; it does come in a time-bound manner.
Measures to Prevent Creaks
It's most often easier and cost less to prevent cinding a creaky floor than having them fixed when they have settled in. Here are some of the prevention measures you may find in your hardwood floors that will help in preventing the possibility of creaks in the future:
Glue Assist During Installation
A glue assist method used in nail-down installations actually helps reduce future creaks in your hardwood. This way, applying a small bead of glue on the subfloor allows one to face-nail the boards closer together, leading to much tighter bonding with minimal movement.
This is particularly true in places where the humidity fluctuates, and where the expansion and contraction of wood might most probably happen.
Benefits of Glue Assist:
- Reduces Motion: The adhesive manages to keep the boards in place against any small motion which would otherwise create a creaky sound.
- Improves Stability: Stability improves due to the assistance of glue under conditions where the floors are more exposed to heavy human and vehicular traffic.
- Long-Term Durability: This allows the reduction of the degree of board movement; the method can thus be usefully applied with a view to increasing the life of your hardwood floor.
Regular Maintenance Tips
Regard be taken to provide the necessary maintenance to hardwood floors.
| Maintenance Task | Description | Frequency |
|---|---|---|
| Monitor Humidity Levels | Use a hygrometer and keep indoor relative humidity between 35% and 55%. | Year-round |
| Use Humidifier During Winter | Keep a humidifier in the house if there is a heating system to maintain moderate moisture levels. | In cold months |
| Check Gaps and Cracks | Periodically check for gaps and cracks that might develop in the floor. | Quarterly |
| Clean Floors Properly | Clean floors with a residue-free, wood-safe disinfectant, and microban. | Weekly |
| Early Intervention for Creaks | Repair and rectify small creaks as soon as you notice them to prevent escalation. | When necessary |
| Apply New Finish or Sealant | Refinish or re-seal hardwood floors to protect them. | Every 3-5 years |
Tips:
- Humidity Control: The inside of a room is kept in a steady state of humidity; that is, in a state of fixed humidity level, reducing the creak of wood in the process by swelling and contracting.
- Early Detection: Periodic checking helps in finding what is small and nips the problem in the bud before it grows big.
- Proper Cleaning: Appropriate cleaning supplies ensure that the wood's integrity is not undone; in return, this provides no creaking.
When to Call a Professional
Structural problems can be identified if: after application of some do-it-yourself fixes, the creaks persist, or they are widespread over an area. In most such cases, professional repair will be required. In addressing these deeper structural issues, look for a licensed, insured flooring contractor with experience in hardwood-related work. Look for great reviews and ask for references. It would be the right approach not only for an accurate assessment, but also for the most viable solutions to avoid costly repair work later.
Conclusion
The next expected thing would be fixing the creaking floor. So here they are: the ways to do it, but not without the proper approach to it. We discussed the ways of doing it by ourselves, from changing humidity to the ways of caulking gaps and nailing back loose boards. If that does not do it, then it is time to bring in a professional. Weles Inc. is one of the most highly rated hardwood flooring companies in New England, and with a 100% satisfaction guarantee on our work, you can be guaranteed you will get the quality service you deserve.
Questions or Feedback?
If you want us to review your floor case or clarify anything in this guide, send us a note.
Email: weles.usa@gmail.com