DIY Difficulty: Moderate
Time Required: 2 to 5 days
Time to Read: 18 Min
Revitalize your home and restore the timeless beauty of your hardwood floors.
Hardwood floors refinishing removes scratches, dullness, and worn finishes, giving your space a fresh, polished look. It’s a smart, affordable solution that avoids the waste of replacing floors entirely while increasing your home’s value.
How Much Does It Cost?
When refinishing hardwood floors, the square footage of the area plays a significant role in determining the overall cost:
- DIY Approach: Costs typically range from $600 to $1,000, covering tool rentals, sandpaper, and finishes. For small areas, such as a single room (200–400 square feet), costs are typically on the lower end of the range, around $600. For larger spaces, like an entire home (800–1,000 square feet or more), the cost may approach $1,000 or slightly exceed it due to additional materials and extended tool rental periods.
- Professional Services:Expect to pay $1,150 to $2,500 for a professional wood floor refinishing service.
Looking for more details? Check out our guide on the cost of refinishing hardwood floors in Boston.

Updated: Nov 18, 2024
-
Refinishing hardwood floors is a moderate-difficulty project. It requires intermediate skills to operate heavy tools like drum sanders and manage a detailed process. Mistakes like uneven sanding can lead to costly repairs.
For DIYers, consider tool rental fees when calculating how to refinish hardwood floors cheap — they’re essential but add to your budget. While the project saves money, hiring professionals ensures expertise and faster results.
Tools and Materials Needed to Refinish Hardwood Floors
Before starting, make sure you have the right tools and materials. Here’s everything you’ll need for a successful refinishing project, organized for clarity and cost estimation.
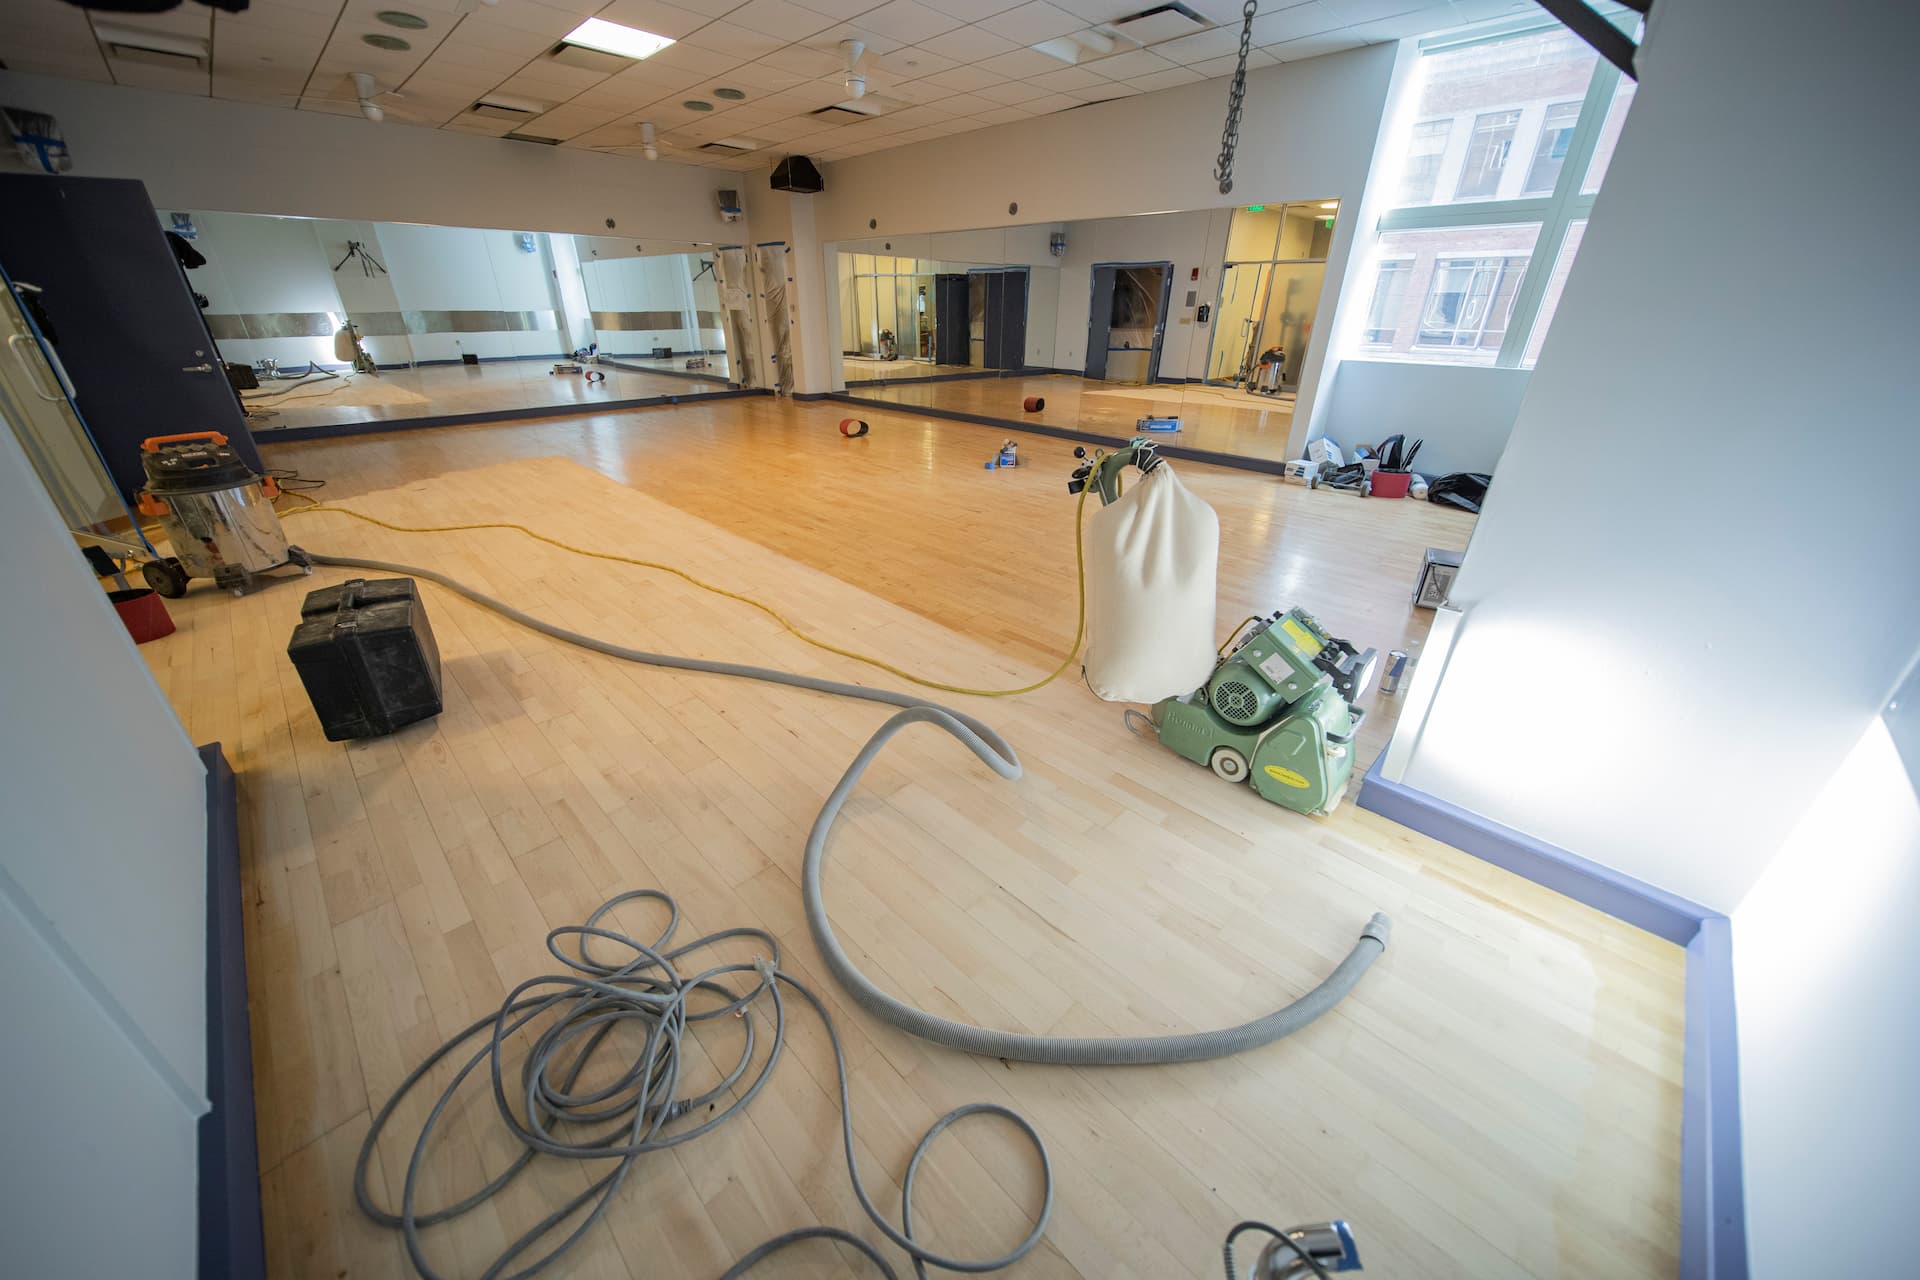
Essential Tools
| Tool | Description | Approx. Cost | Where to Buy |
|---|---|---|---|
| Drum Sander | Powerful sander for large areas. | $50–$80/day (rental) | Home Depot |
| Edge Sander | For edges and corners where drum sander can’t reach. | $30–$50/day (rental) | Home Depot |
| Sanding Pole | Used with fine-grit sanding screens for buffing. | $15–$30 | Amazon |
| Vacuum (with Brush Attachment) | Removes dust between sanding stages. | $100+ | Amazon |
| Paintbrush | For applying stain along edges. | $5–$15 | Amazon |
| Applicator Pads | For even application of stains and finishes. | $10–$20 | Home Depot |
| Pry Bar and Hammer | To remove base molding without causing damage. | $15–$25 | Amazon |
Essential Materials
| Material | Purpose | Approx. Cost | Where to Buy |
|---|---|---|---|
| Sandpaper (40-220 grit) | For sanding and smoothing. | $20–$40/pack | Amazon |
| Wood Filler or Putty | Repairs cracks, gouges, and nail holes. | $10–$25 | Lowe’s |
| Painter’s Tape | Protects walls and edges during sanding. | $5–$10 | Amazon |
| Plastic Sheeting | Seals vents and protects surfaces from dust. | $10–$20 | Home Depot |
| Tack Cloths | Removes fine dust before finishing. | $5–$10 | Amazon |
| Stain (Optional) | Adds color to floors. Choose oil- or water-based. | $20–$50 | Lowe’s |
| Polyurethane Finish | Protects floors. Oil-based (durable) or water-based (fast-drying). | $40–$80 | Lowe’s |
DIY vs. Professional-Grade Tools
| Tool | DIY Option | Professional Option | Cost |
|---|---|---|---|
| Drum Sander | Standard rental models (good for beginners). | Heavy-duty models with precise controls. | $50–$80/day (rental) |
| Edge Sander | Basic rental for edges and tight spaces. | Advanced tools for precise detailing. | $30–$50/day (rental) |
| Applicators | Foam or lambswool pads (budget-friendly). | Premium applicators for smoother finishes. | $10–$20 |
Optional Tools for Advanced Techniques
| Tool | Purpose | Approx. Cost |
|---|---|---|
| Water-Popping Applicator | Enhances stain absorption. | $15–$30 |
| Floor Buffer | Achieves a smooth, professional finish. | $100–$200/day (rental) |
Tools you need when refinishing without sanding(anchor link)
🧹 Remember: Keep your tools clean, clean the dust bag regularly, and vacuum thoroughly.
We've also prepared a PDF version of a checklist for you with the refinishing tools you need:
When to Refinish Hardwood Floors
But before we start refinishing, we need to assess the condition of the wood floor. Not every floor needs a full sanding! Sometimes a polish is all it takes to restore the floors to their former beautiful appearance.
Signs Your Floor Needs Refinishing
Do your floors have just minor scratches or are they looking dull? A thorough cleaning and polishing will already restore them to their former appearance. Easy approaches like the screen-and-recoat method or treatment with a chemical abrasion kit are already enough to restore your hardwood floors without sanding, saving you a lot of time and effort.
The tools for non-sanding methods are simpler and more affordable. Here’s a comparison:
| No | Tool | For Sanding Methods | For Non-Sanding Methods |
|---|---|---|---|
| 1 | Drum Sander | Essential for removing deep scratches and old finish. | Not required. |
| 2 | Edge Sander | For corners and edges during sanding. | Not required. |
| 3 | Sanding Pole | Buffs the surface for smoothness. | Optional for screen-and-recoat. |
| 4 | Chemical Abrasion Kit | Not required. | Prepares the surface for recoating without sanding. |
| 5 | Applicator Pads | For applying stains and finishes. | Also required for recoating. |
| 6 | Vacuum and Tack Cloth | Cleans up dust and debris between sanding passes. | Removes dust before applying a new finish. |
| 7 | Polyurethane Finish | Essential for protecting and sealing the floor. | Essential for non-sanding methods as well. |
💡 Pro Tip: Non-sanding methods are perfect for floors with surface-level wear, while sanding is necessary for floors with deep scratches or exposed wood.
However, deep scratches, water stains, or exposed wood are signs that a full sanding and refinishing is necessary. In these situations, sanding will smooth imperfections, and refinishing will protect the wood while restoring its beauty.
Testing Your Floor’s Condition
To assess your floor’s needs, try these simple tests:
- Water Droplet Test: Sprinkle a few drops of water on the surface.
- If the water soaks in immediately, the finish is worn, and refinishing is required.
- If it beads up, cleaning and polishing may be sufficient.
- Coin Test: Gently scrape a coin across the surface. If it scratches easily, the protective finish is gone, and your floor needs attention.
How Often to Refinish Hardwood Floors
How frequently you refinish depends on your floor's usage. High-traffic areas, like kitchens and hallways, often require refinishing every 5–7 years. In contrast, rooms with lighter use may last 10–15 years before needing attention. Regular cleaning and using furniture pads can help extend this timeline, keeping your floors looking their best. More in our article about how often to refinish hardwood floors.

Hardwood Floor Repair
If you have significant damage to your floors, hardwood floor repair should be done so that it is ready for refinishing. Do not refinish damaged floors. Clean the floor with a damp rag, identifying all significant scratches, dings and gaps.
Small cracks can be handled with a special wood filler (wood patch filler), on larger areas use a trowel filler. Then sand the repair work, focusing on the texture of the grain of the wood. You can smooth the edges with steel wool.
If you notice any damage at all, the planks will need to be replaced.
For severely damaged areas, replace planks and ensure they align with surrounding boards. Keep tools clean by regularly emptying the dust bag, and vacuum thoroughly to remove all debris. With repairs complete, your floor is ready for a flawless finish.
The topic of hardwood floor repair is extremely broad. It cannot be fully covered in this article. We advise you to study our other materials.
💢 Need help fixing damaged floors? Check out our guide on how to fix wood floors for more detailed advice.
💲 Wondering if refinishing is worth it? Read our article on whether it’s cheaper to refinish or replace hardwood floors to decide the best path forward.
💧 If water damage is the issue, repairs may require extra care. Learn more about addressing wood floor water damage in our detailed guide.
Preparing the Room for Refinishing Hardwood Floors

The next important step is to prepare the room.
Step 1: Clear the Room
- #Important
- #Сleaning
- #Carpet Removal
Remove all furniture, rugs, and decorations from the room. Empty the space completely to give yourself room to work and protect your items from dust and damage. If you’re wondering how much to pull up carpet and refinish hardwood floors, factor in the extra effort needed to remove staples or adhesive left behind by the carpet.
💡 Carpet Removal Tip: For those curious how to refinish hardwood floors under carpet, use pliers or pry bar to pull up the carpet. Remove the staples with a flathead screwdriver or staple remover.
Step 2: Seal and Protect
- #Important
- #Protection
Before starting how to clean and refinish hardwood floors, it’s vital to keep the dust and debris contained.
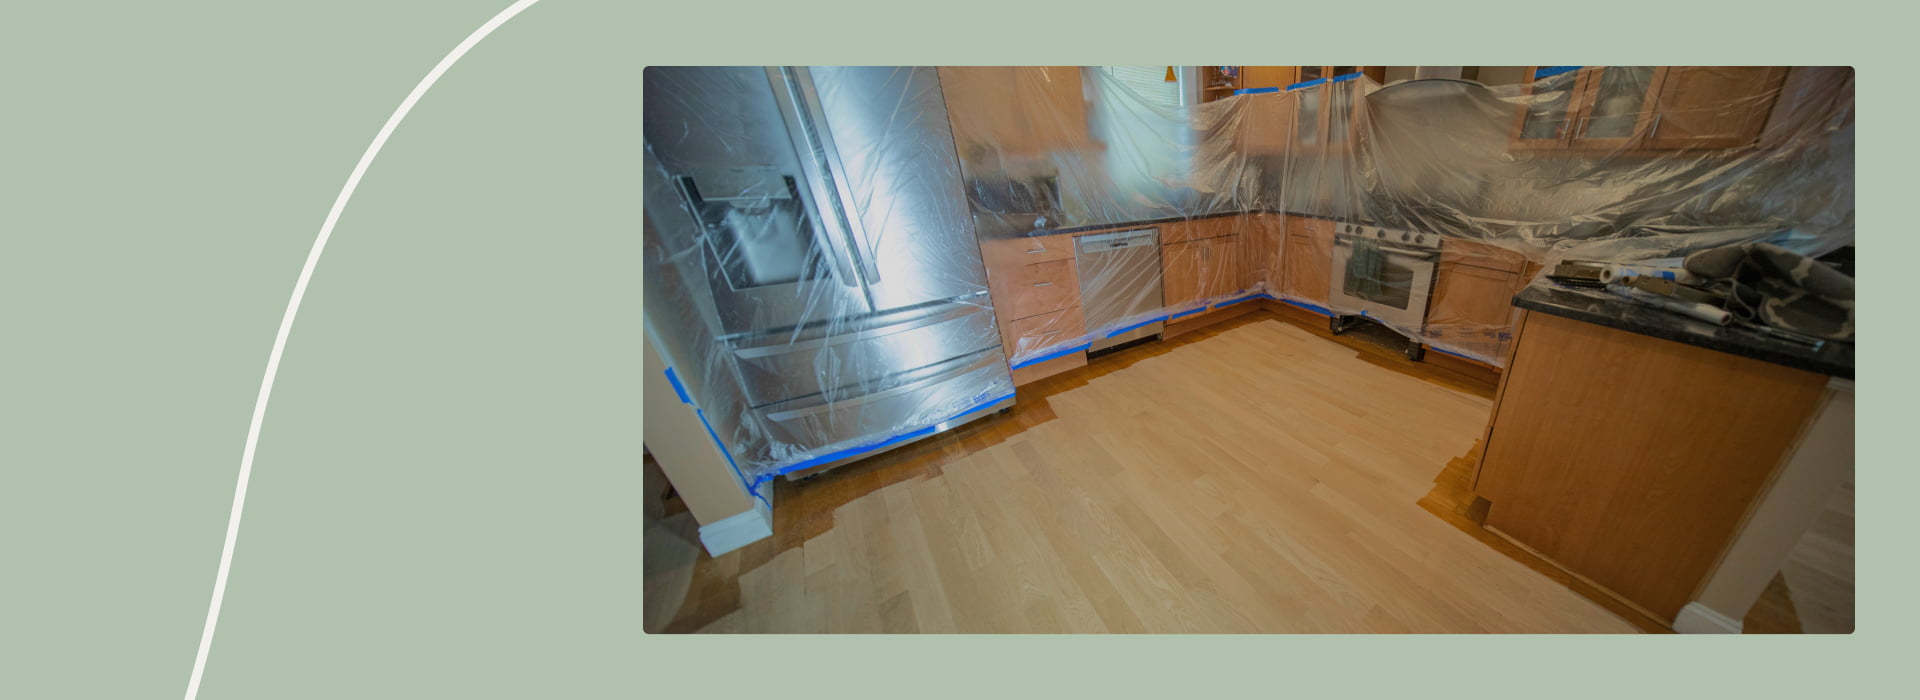
- First, you need to cover all doorways and outlets. This can be done with painter’s tape and plastic sheeting. Remove the vent covers (to prevent them from clogging with dust) and cover the vents, too.
- Second, cover walls and baseboards that cannot be removed with protective plastic or drop cloths.
💡 Pro Tip: If you need to remove base moldings, label each piece to make reinstallation easier. Use a pry bar with padding to avoid damaging the molding or the wall.
Step 3: Prepare the Floor
- #Important
- #Repair
If your wood floors have been repaired, it's worth inspecting them again. All protruding nails, gaps and cracks should be removed.
❓ For Uneven Floors: Use a level to assess the surface. High spots may need extra sanding, while low spots can be filled with wood putty.
Step 4: Safety First
- #Important
- #Repair
Refinishing floors generates fine dust and potentially harmful fumes, so safety is critical.
- Wear a HEPA N95 mask or dust respirator while sanding to protect your lungs from fine particles.
- Use a vacuum with a HEPA filter to minimize airborne dust.
- Ensure the room is well-ventilated by opening windows and using fans.
- If using oil-based finishes, wear gloves and goggles to protect against chemical exposure.
- Dispose of oil-soaked rags properly by drying them flat outdoors and storing them in a metal container before disposal.
- Opt for low-VOC or water-based finishes to reduce chemical exposure.
💡 Pro Tip: If you need to remove base moldings, label each piece to make reinstallation easier. Use a pry bar with padding to avoid damaging the molding or the wall.
Step 5: Clean the Floor
- #Important
- #Сleaning
- #Adobe
- #Invision
- #Protopie
The floor should be perfectly clean before sanding. Vacuum the floor thoroughly. Remove all dirt and all debris. Then go over with a damp mop and allow the floor to dry. Do not use any finishes after cleaning. We're going to be refinishing, after all, so it doesn't make sense.
Knowing how to clean and refinish hardwood floors will help you avoid imperfections and the end result.
How to Sand and Refinish Hardwood Floors Yourself | Step-by-Step Process
Next is the most important part. We've been coming to this for a long time! Here is a step-by-step guide with techniques, tips and advice on refinishing your wood floors.
Step 1: Sand the Floor
Sanding is an operation to remove old finishes, which smooths the surface and makes the floor ready for staining or sealing.
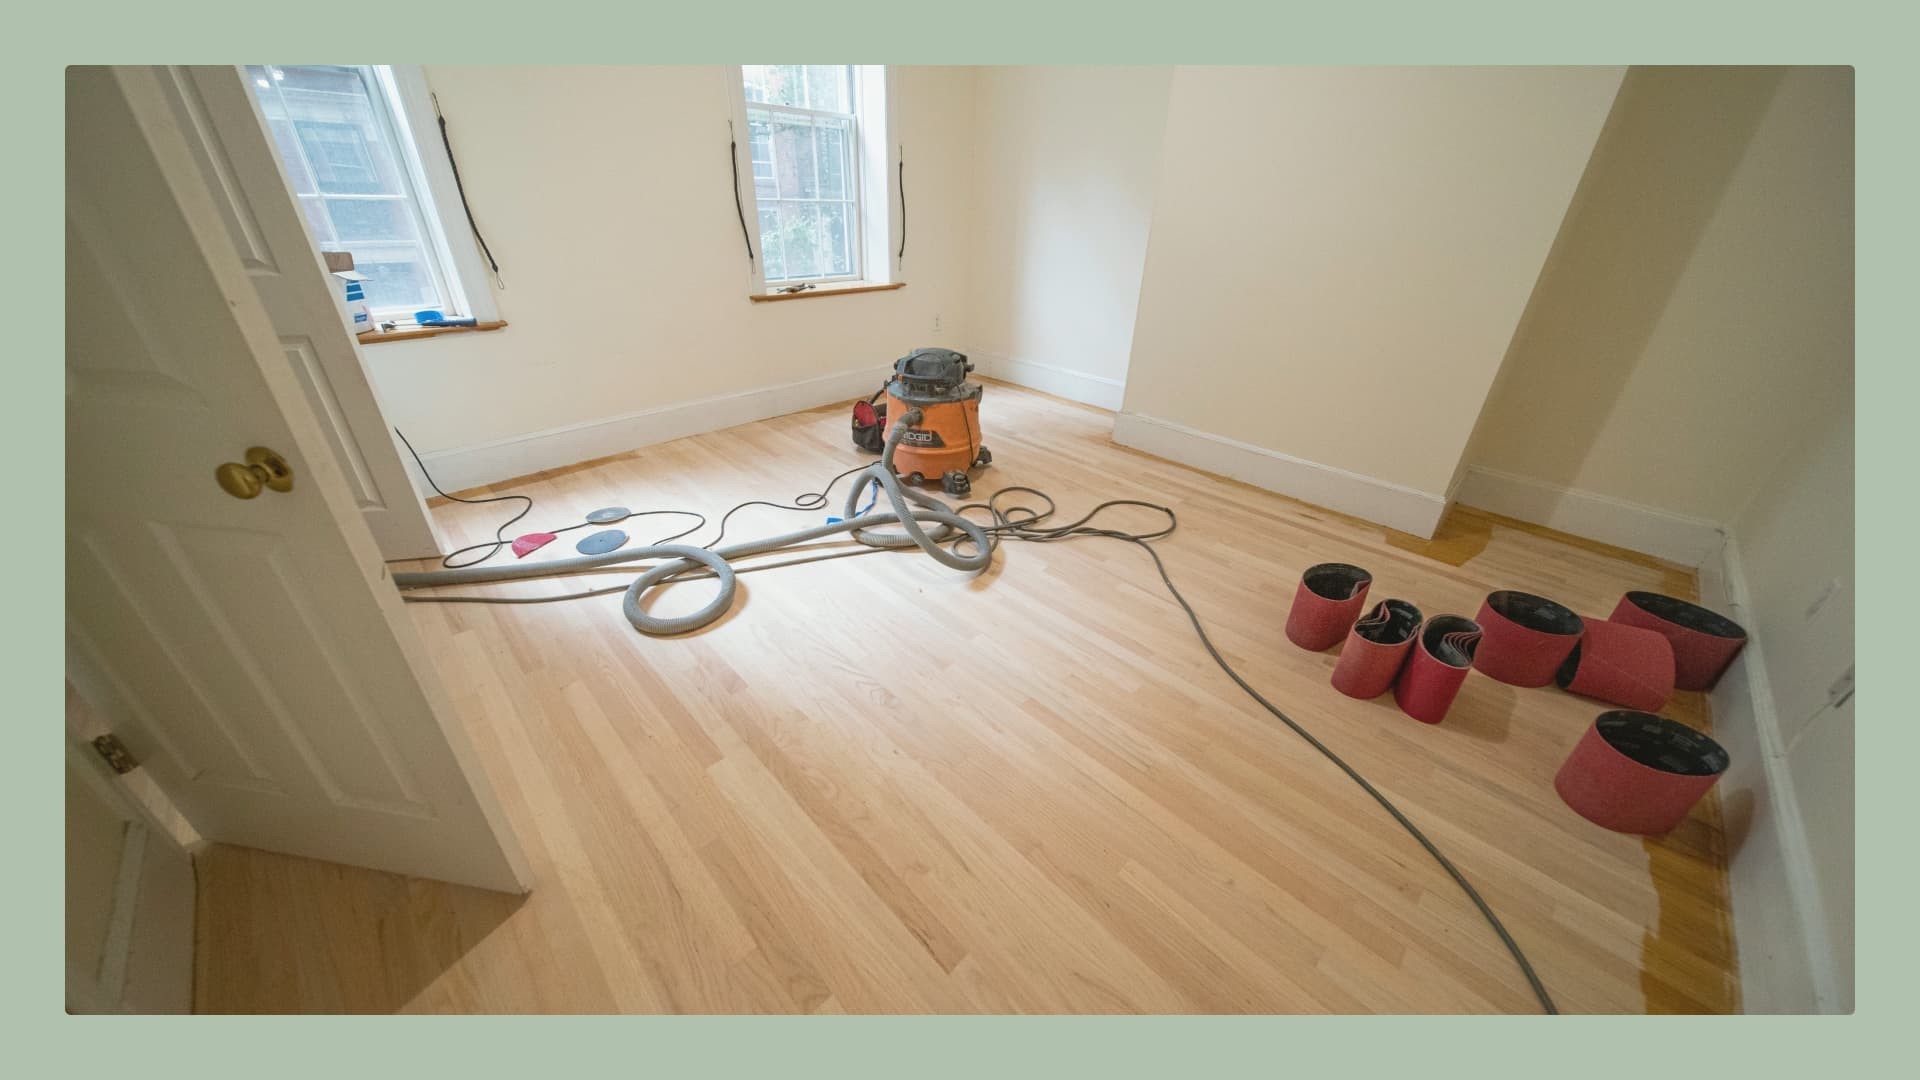
- Start with Coarse Grit: Use 40-grit sandpaper and use it on the first sanding process to remove the old finishes and imperfections.
- Progress to Medium Grit: 60- grit sandpaper, followed by 80-grit sandpaper to complete the surface sanding step.
- Finish with Fine Grit: Finish off the job with 120-grit sandpaper for a flawless finish ready for application of stain or finish.
Common Problems & Solutions:
- Uneven Sanding Marks: Never stay on the spot when sanding, as staying there will leave gouges or swirl marks. Mistakes cause overlaps only slightly.
- Dust Buildup: To maintain a consistent cut a floor and sander needs to be vacuumed between passes so that buildup doesn’t clog the sander.
💡 Pro Tip: Get adequate use experience by applying a drum sander on construction cut offs first before the floor.
Step 2: Sand Edges and Corners
Edges and corners need to be given special attention because these areas are inaccessible by drum sanders.
- Progress through grits in the same way as when sanding the floor for an edge sander.
- We recommend using a hand sander wrapped in sandpaper or a sanding block for more confined areas like corners.
- Practice using the edge sander to avoid applying uneven pressure to the wood, which can leave unsightly marks.
Step 3: Buff the Floor
The buffing process helps in the elimination of the small imperfections that are often left after the sanding process and creates a proper surface for staining or sealing.
- Manual Method: When finishing, use a pole sander with a 120-grit sanding screen. Sand along the direction of the wood grain, then pull the sander back and repeat.
- Machine Method: For quicker results, an industrial floor buffer can be rented. Fasten the buffer in motion while making wide circular arcs on the floor.
💧 Water-Popping Technique: Before staining the underside of the flap or any porous surface, use alcohol and water to pull off the grain. This technique helps to absorb stains better and transfer color better. Make sure the floor is dry before proceeding.
Step 4: Clean Thoroughly
Nothing short of an impeccable result may be desired and this can only be achieved by a clean surface below the application.
- Vacuum the Floor: In order to remove the dust and debris from the floor and baseboards, use a vacuum with the brush attachment.
- Wipe with Tack Cloths: These are cloths that are slightly sticky to touch and work in a way that helps the engendered dust migration to the floors and soffit.
- Optional Alcohol Cleaning: If the dust is heavily embedded, mix denatured alcohol with water and apply to the dusty areas of the floor.
Step 5: Stain the Floor (Optional)
Staining the floor is useful because it gives it shades, but it is not mandatory for those who want a natural wood-colored floor.
- Choose the Right Stain: Oil-based stains take a longer time to dry - which is good and has a strong tint - whilst a water-based stain is fast drying and has low VOC.
- Application Tips: When applying work starting from the furthest corner of the room towards the door. For larger spaces use an applicator pad and for the borders use a brush. When painting, maintain a wet edge, so that lap marks are avoided.
- Spot-Test First: One important thing to do when painting is to apply a small strip of the desired color around an area that is not visible so as to see how the whole picture looks.
Troubleshooting:
- Uneven Color: If there are overlapping sections, blend them but do take care of removing the extra stain if so.
- Streaks or Lap Marks: Avoiding applying pressure on the painted surfaces and working on small areas may help in avoiding the said marks.
Step 6: Seal and Finish the Floor
Sealing is meant to preserve the floor against degradation but also adds a gloss or a matte look.
- Choose a Finish:
- Oil-Based Polyurethane: Quite strong but does take a while to dry
- Water-Based Polyurethane: Dries easily with reduced VOCs
- Wax or Natural Oils: Although suitable for old homes, they suffer from lesser durability
- Apply Thin Coats: Use a sheep's wool applicator or foam pad for application. Applying the finish across the grain leaves streaks.
- Sand Between Coats: After each coat, sand lightly with 220 grit sandpaper or fine SS wool and clean the space before applying a new coat.
- Let the Finish Cure: Make sure the floor is completely dry before you step on it. In the case of oil-based coatings, wait at least three days to return things to the floor.
💡 Pro Tip: Matte finishes are more sought out and fit in well in contemporary homes while gloss finishes should be reserved for classic houses.
Advanced Refinishing Scenarios
Refinishing hardwood floors can present unique challenges, especially when dealing with engineered wood, significant damage, or obstacles like built-ins. Here's how to approach these situations effectively:
Refinishing Engineered Hardwood Floors
- #EngineeredWood
- #Sanding
- #Maintenance
Engineered hardwood has a thin veneer of real wood, typically allowing only one or two refinishes over its lifespan. To refinish engineered hardwood floors, follow these guidelines:
- Check Veneer Thickness: If it’s less than 2mm, avoid sanding and use a screen-and-recoat method instead.
- Use Fine Grit Sandpaper: Start with 120-grit to minimize wear on the thin veneer.
- Avoid Deep Sanding: Focus on lightly scuffing the surface to prep for a new finish.
💡 Pro Tip: For heavily worn engineered floors, replacing planks may be a better long-term solution than refinishing.
Handling Damaged Hardwood Floors
- #Repair
- #HardwoodCare
Damaged or scratched hardwood floors require special attention. For best results, consider the extent of the damage:
- Minor Damage: Fill scratches and dents with wood filler and match the color using touch-up stains.
- Severe Issues: Replace damaged planks with matching wood and blend the repairs seamlessly into the existing floor.
- When to Hire a Pro: Structural damage or widespread issues often require professional expertise for lasting results.
💡 Expert Advice: Address water stains and warping early to prevent further damage to surrounding planks.
Refinishing Floors with Gaps
- #Gaps
- #HardwoodFloors
- #Repair
Gaps in hardwood floors can be either seasonal or permanent. Here's how to address them during refinishing:
- Seasonal Gaps: Leave these alone as they will likely close with changes in humidity.
- Permanent Gaps: Fill smaller gaps with wood filler, sanding flush before finishing. For large gaps, consider custom wood strips for consistency.
❓ Did You Know? Using a humidifier during dry seasons can minimize seasonal gaps in hardwood floors.
Refinishing Around Obstacles
- #Obstacles
- #TightSpaces
Refinishing hardwood floors around obstacles like radiators or built-ins requires precision. Use the following tips:
- Use Hand Tools: Hand sanders or detail sanders are perfect for tight areas.
- Under Radiators: Attach narrow sanding tools for effective coverage in hard-to-reach spots.
- Blend Consistently: Take extra care to match the finish in these areas with the main floor for a professional result.
💡 Pro Tip: Use masking tape to protect nearby surfaces while sanding and applying finishes.
Cost Breakdown
Understanding how much does it cost to refinish hardwood floors is key to planning your project effectively. Costs vary depending on whether you choose the DIY route or hire professionals.
DIY Costs
- Tools and Materials: Expect to spend $600 to $1,000. This includes renting equipment like drum sanders and buying essentials like sandpaper, wood filler, and polyurethane finishes.
- Hidden Expenses: Don’t forget protective gear, cleaning supplies, and potential extra costs for fixing unexpected damage.
💡 Cost-Saving Tip: Rent tools instead of buying and look for refurbished or second-hand equipment when possible. Buying tools will drive the price up a lot. And will not prove profitable even in the long run.
Professional Costs
Hiring professionals for a seamless finish costs $1,150 to $2,500 on average. While more expensive, it ensures expertise, especially for damaged hardwood floors or complex spaces.
Comparison of DIY vs. Professional Refinishing
| Category | DIY | Professional |
|---|---|---|
| Cost | $600–$1,000 | $1,150–$2,500 |
| Time Commitment | 2–5 days | 1–3 days |
| Skill Required | Moderate to High | Minimal |
| Finish Quality | Depends on skill and tools used. | Consistently professional. |
| Hidden Expenses | Repairs, tool rentals, mistakes. | Typically minimal with pros. |
Maintenance Tips for Long-Lasting Hardwood Floors

To keep your floors looking pristine, regular cleaning and protection are key. Sweep or vacuum daily to prevent dust and debris from scratching the surface. For weekly care, mop lightly with a well-wrung damp mop, as standing water can lead to warping.
Protecting your floors from furniture is equally important. Use felt pads under table and chair legs to avoid scratches, and place rugs in high-traffic areas for added durability. Proper precautions can extend the time before refinishing is necessary, often stretching to 10–15 years for low-use rooms and 5–7 years for high-traffic spaces.
"Consistent care ensures refinished floors maintain their beauty for years, reducing the need for costly touch-ups or early refinishing." — Comment by Weles Professional
Simple maintenance habits can save time and money, preserving your investment.
Frequently Asked Questions
Yes, but with limitations. Engineered hardwood has a thin veneer of real wood, usually 2mm or less, which restricts the number of refinishes. Sand lightly to avoid exposing the core material. For heavily worn floors, consider a screen-and-recoat method or professional assessment.
Wood types vary in how they absorb stains. Oak pairs well with both light and dark stains, highlighting its grain pattern. Maple tends to resist dark stains and is better suited to lighter finishes. For exotic woods like Brazilian cherry, clear finishes often enhance their natural beauty.
To avoid lap marks, work quickly and maintain a wet edge when applying stain. Blend overlapping sections immediately, and use a consistent amount of stain on your applicator. Practice on a hidden area to perfect your technique.
Painting hardwood floors is an alternative to staining or sealing. Sand the surface lightly to remove the gloss, then apply a primer designed for wood. Use high-quality floor paint and finish with a polyurethane topcoat for durability.
The process typically takes 2 to 5 days, depending on the size of the space and drying times for stains and finishes. Oil-based polyurethane requires longer drying times than water-based options.


