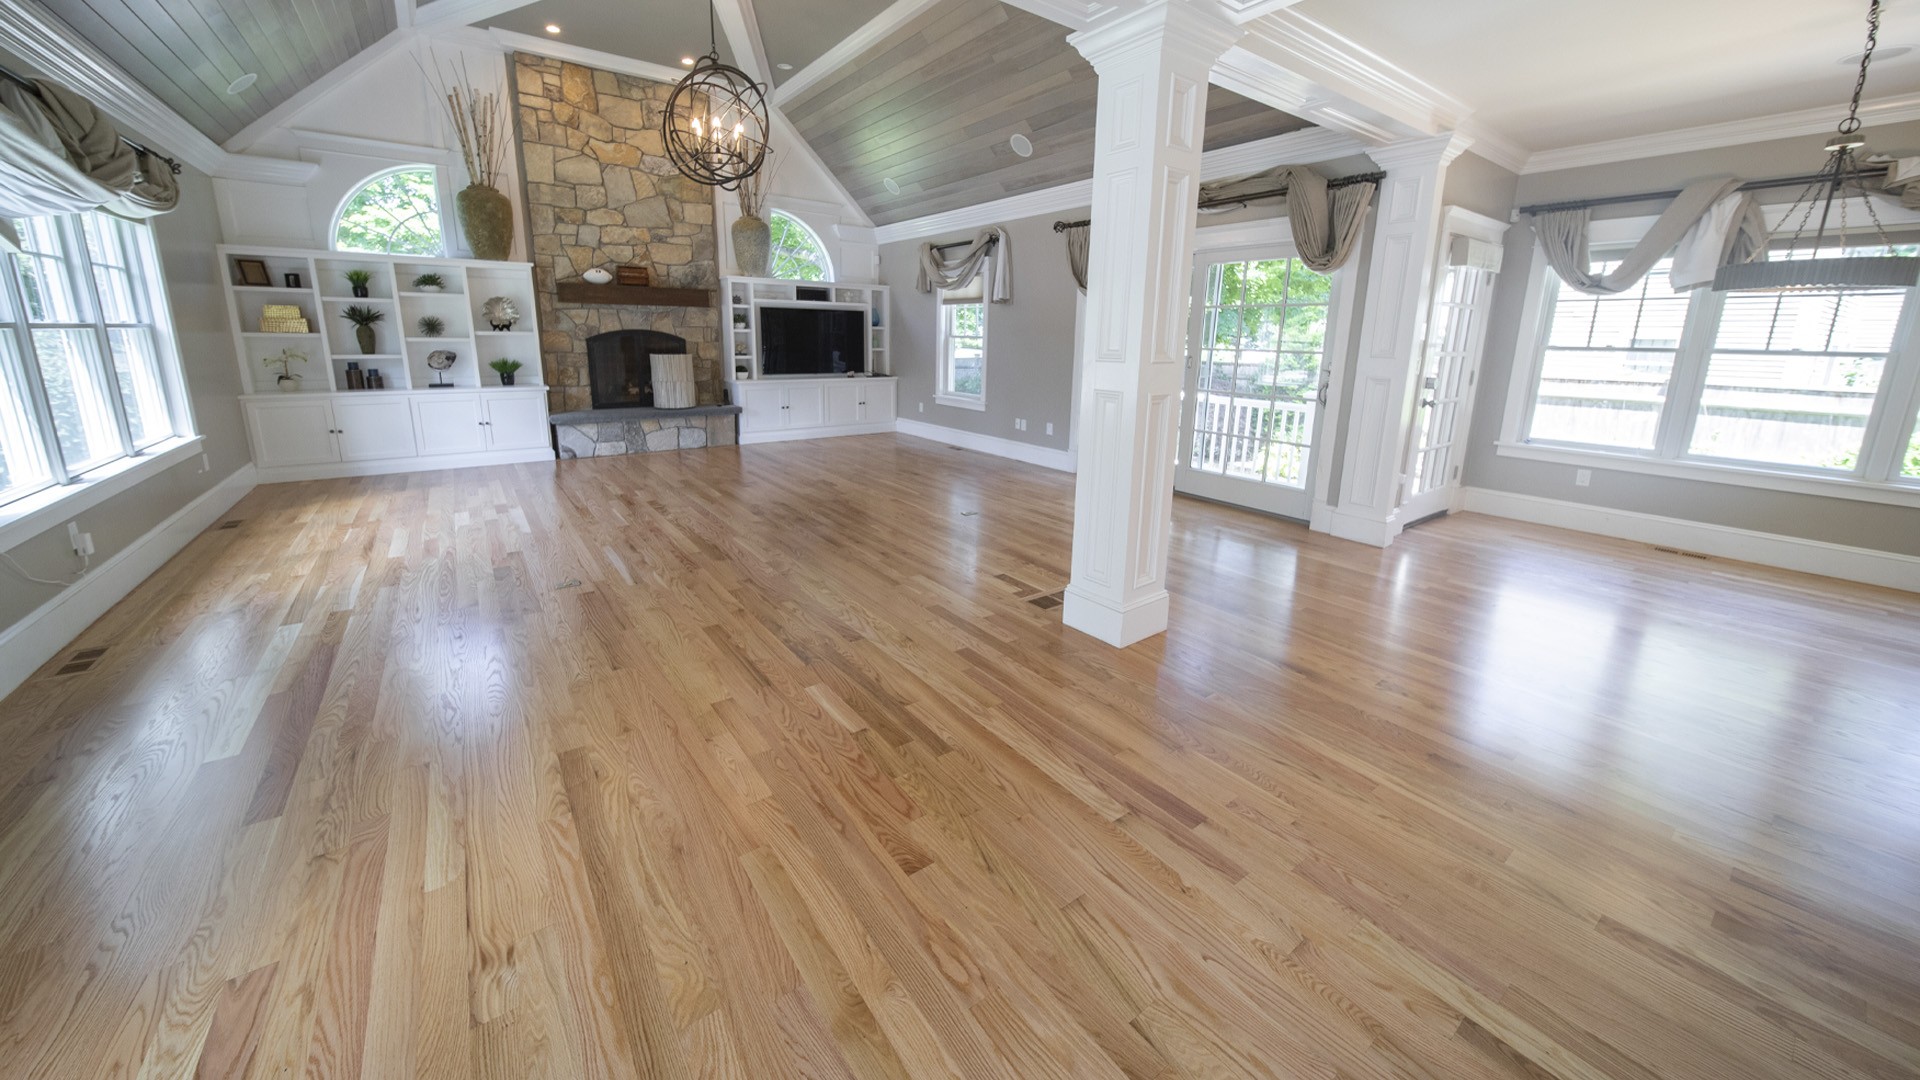
If you're looking for a cost-effective way to refresh your hardwood floors, then refinishing them yourself can be a great option. However, this process can be intimidating if you're new to it. In this guide, we'll take you through the entire process of refinishing hardwood floors yourself. From preparation to finishing, we'll give you step-by-step instructions on how to refinish your floors and bring back their shine.
Table of Contents
- Introduction
- Tools and Materials Required
- Preparing the Floor
- Sanding the Floor
- Staining the Floor
- Sealing the Floor
- Finishing Touches
- Cleaning Up
- Frequently Asked Questions
- Can I refinish my hardwood floors without sanding them?
- How long does it take to refinish hardwood floors?
- How often should hardwood floors be refinished?
- Can I walk on the floors while they dry?
- Can I refinish engineered hardwood floors?
1. Introduction
Hardwood floors add a warm and elegant touch to any home, but over time they can become dull, scratched, and worn out. Refinishing hardwood floors can be an effective way to restore their natural beauty and increase their longevity. While hiring a professional can be expensive, refinishing your floors yourself can save you a significant amount of money. It can also be a fun and rewarding DIY project to take on.
2. Tools and Materials Required
Before you start refinishing your floors, you'll need to gather the necessary tools and materials. Here's a list of what you'll need:
- Safety goggles and dust mask
- Drum or belt sander
- Edge sander
- Sandpaper (different grits)
- Vacuum cleaner
- Tack cloth
- Wood filler
- Stain
- Polyurethane
- Paintbrush
- Roller or applicator pad
- Paint tray
3. Preparing the Floor
Before you start sanding, you need to prepare the floor. This involves removing any furniture, rugs, or objects from the room. Next, you'll need to thoroughly clean the floor to remove any dirt or debris. You can use a vacuum cleaner and a tack cloth to do this. You'll also need to inspect the floor for any gaps, holes, or cracks. These will need to be filled with wood filler before sanding.
4. Sanding the Floor
Sanding is the most important part of refinishing hardwood floors. You'll need to use a drum or belt sander to sand the main area of the floor, and an edge sander for the corners and edges. You'll need to start with coarse sandpaper and work your way up to finer grits until you achieve a smooth and even surface. Be sure to wear safety goggles and a dust mask during this process to protect yourself from the dust.
5. Staining the Floor
Staining is optional, but it can enhance the natural color of your hardwood floors. To do this, you'll need to choose a stain color that matches your existing floors or your desired look. Apply the stain with a paintbrush or roller, and be sure to follow the manufacturer's instructions. You'll need to let the stain dry completely before moving on to the next step.
6. Sealing the Floor
After staining (or if you're not staining), you'll need to seal the floor. Polyurethane is the most common sealer used for hardwood floors. Apply the polyurethane with a roller or applicator pad, and be sure to follow the manufacturers instructions on how many coats to apply and how long to wait between coats. You'll also need to lightly sand the floor with a fine-grit sandpaper between coats to ensure a smooth finish.
7. Finishing Touches
Once the final coat of polyurethane has dried, you can add some finishing touches to your floors. This can include adding a protective layer of wax, buffing the floors to a shine, or even adding some decorative touches such as stenciling or painting.
8. Cleaning Up
After you've finished refinishing your floors, you'll need to clean up the room. This includes vacuuming up any dust or debris, wiping down any surfaces that may have come in contact with the polyurethane, and disposing of any used sandpaper or other materials.
9. Frequently Asked Questions
1. Can I refinish my hardwood floors without sanding them?
In most cases, sanding is necessary to properly refinish hardwood floors. However, there are some alternative methods such as screening or chemical stripping that can be used in certain situations.
2. How long does it take to refinish hardwood floors?
The time it takes to refinish hardwood floors depends on a number of factors, including the size of the room, the condition of the floors, and the number of coats of polyurethane needed. Generally, it can take anywhere from a few days to a week or more.
3. How often should hardwood floors be refinished?
The frequency of refinishing hardwood floors depends on the amount of traffic they receive and the wear and tear they experience. In general, it's recommended to refinish hardwood floors every 7-10 years.
4. Can I walk on the floors while they dry?
It's important to avoid walking on the floors while the polyurethane is drying, as this can cause damage to the finish. You'll need to wait until the polyurethane has fully cured before walking on the floors.
5. Can I refinish engineered hardwood floors?
Yes, you can refinish engineered hardwood floors. However, the process may be more limited due to the thickness of the top layer of the flooring. It's important to consult with the manufacturer or a professional before attempting to refinish engineered hardwood floors.
Conclusion
Refinishing your hardwood floors can be a great way to give your home a fresh, new look while also extending the life of your floors. While the process can be time-consuming and labor-intensive, it can also be a fun and rewarding DIY project. By following the steps outlined in this guide and taking the necessary safety precautions, you can refinish your hardwood floors with confidence and achieve beautiful results.


